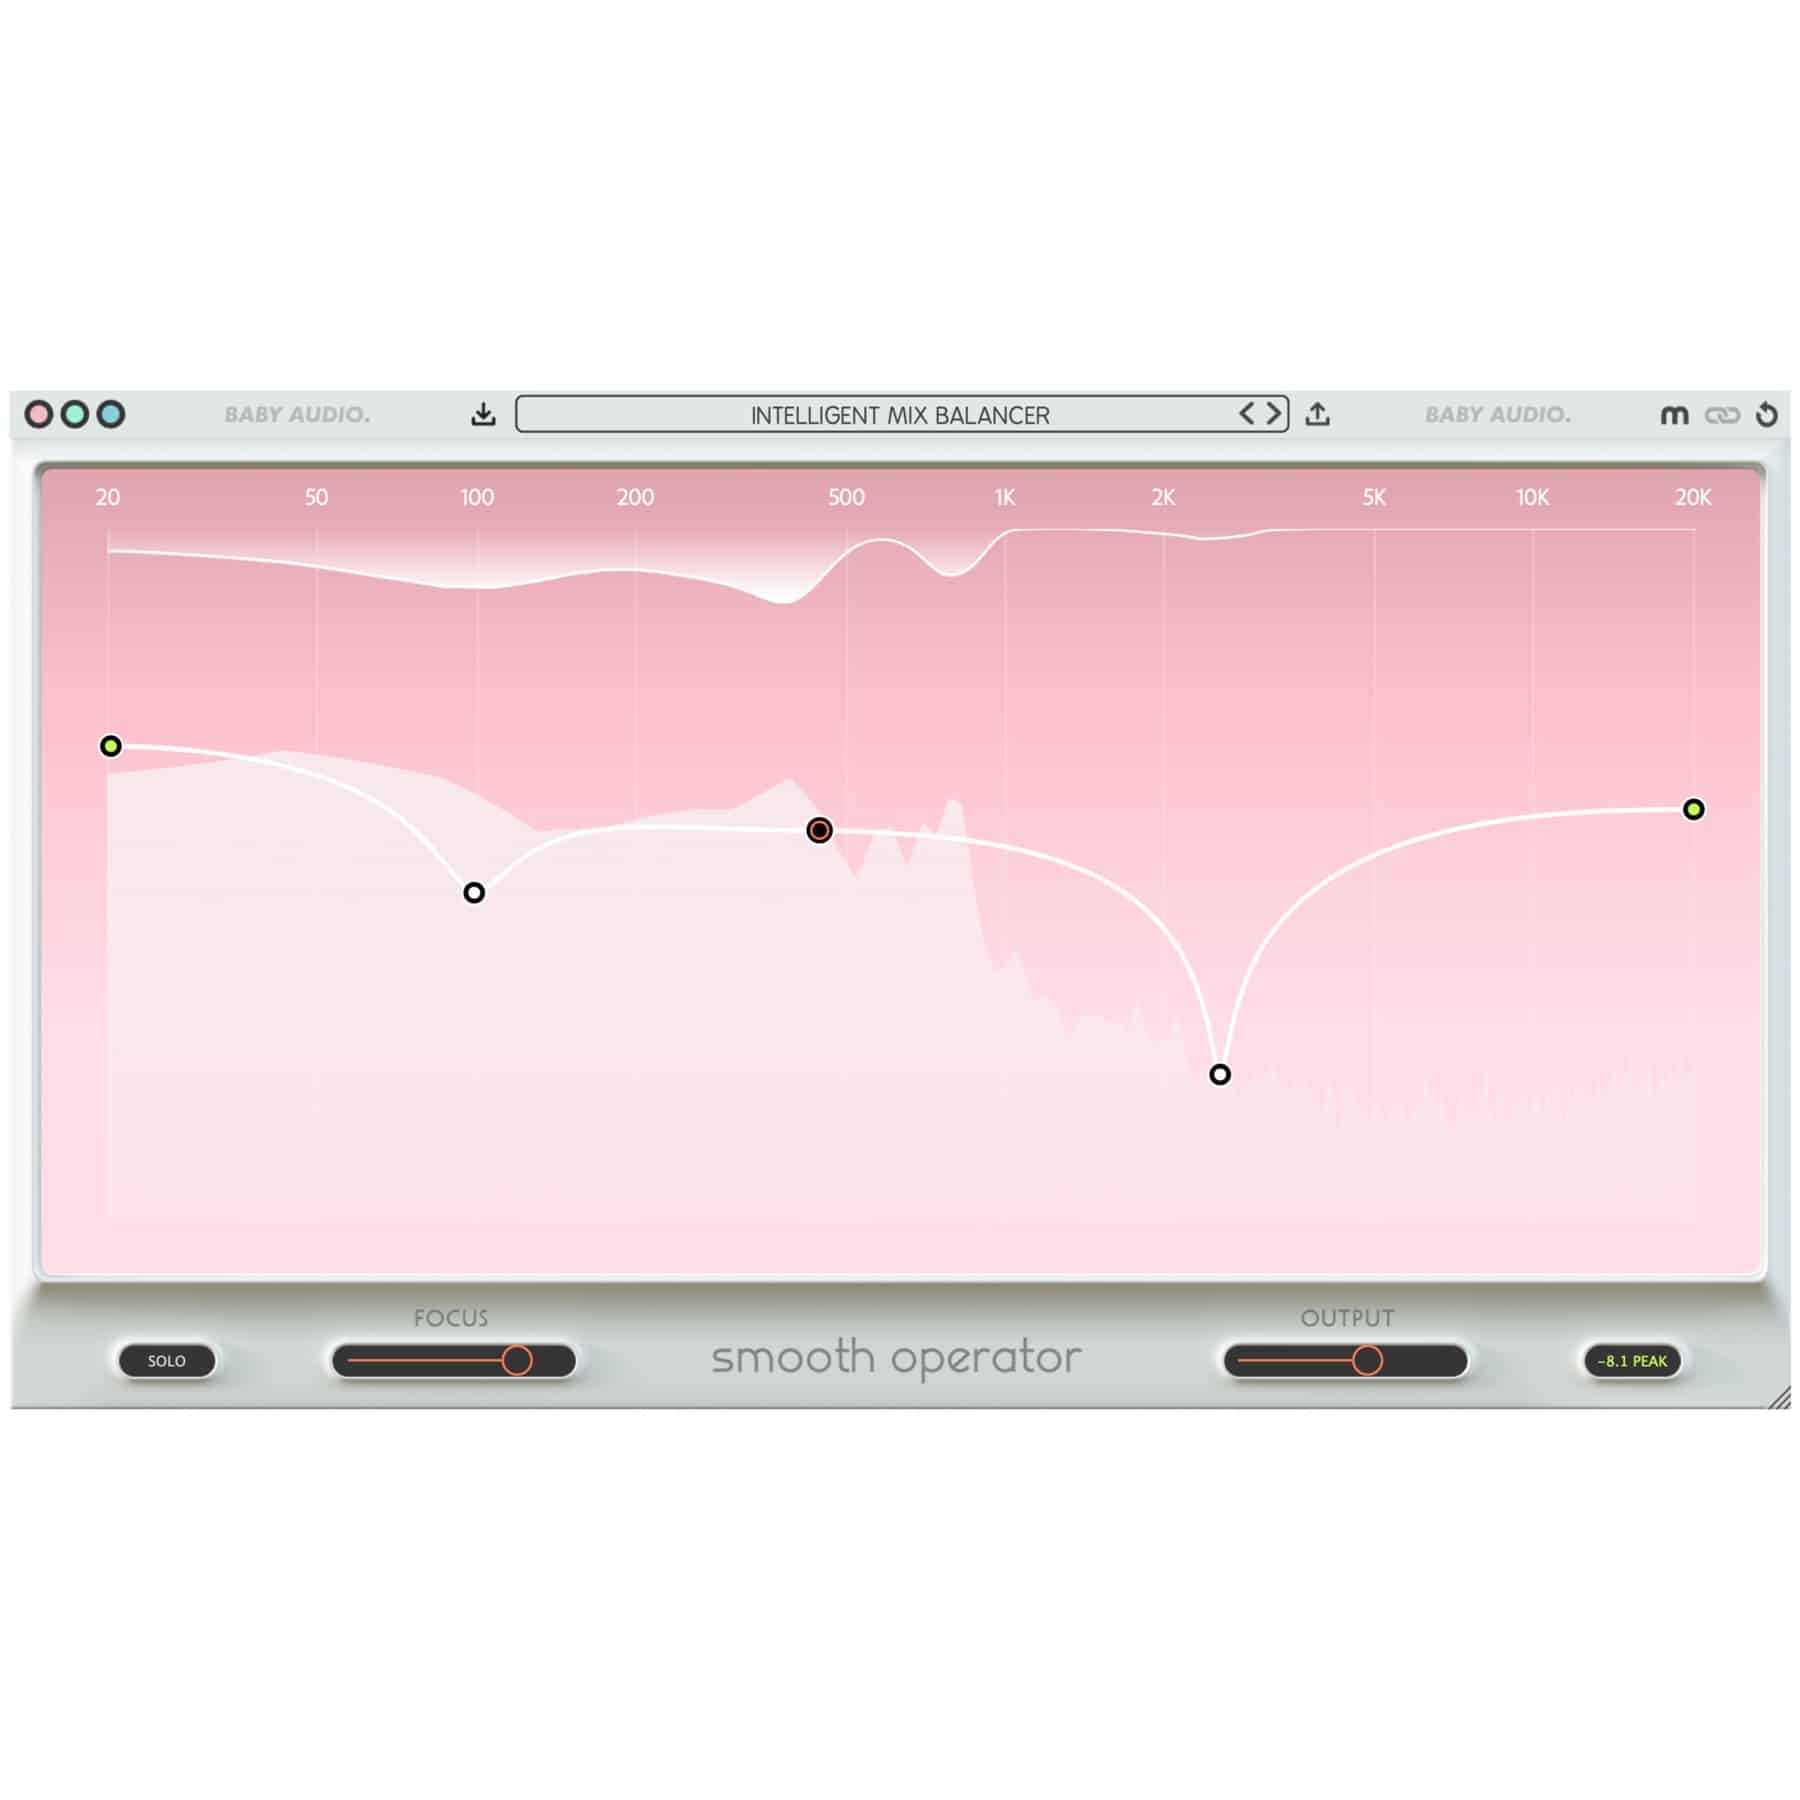
Intelligent Spectral Balancer that automatically resolves fatigued freq areas and bad resonances.
Say Hello To Cleaner Mixes
- Intelligent plugin that brings out clarity and eliminates harsh resonances
- Adapts to your audio in real time and automatically combats fatigued frequency areas
- Lets you creatively sculpt and shape your tonal balance without nasty artifacts
Tame and Transform Any Track
Smooth Operator combines the benefits of Resonance Suppression, Spectral Compression and Equalization into one, smart workflow. It offers a simplistic alternative to a traditional channel strip and is your new best friend when it comes to combating cluttered mixes. Use the plugin to sculpt your tonal balance while the algorithm automatically eliminates harsh resonances in the background.
Smooth Operator analyzes your incoming audio at your DAW’s sample rate (e.g. 44,100 times per second) and constantly adapt its settings to attenuate the frequencies that have excessive energy build-up. The plugin lets you set a desired frequency response curve and optimizes the incoming signal in accordance with that. This gives your tracks a smoother, more musically balanced frequency response.
What is spectral processing?
The easiest way to understand Spectral Processing is to think of it as manipulating the building blocks that make up a digital signal – rather than the actual signal. Our algorithm uses Fast Fourier Transform – or FFT – to break the incoming audio into tiny particles, which are analyzed and processed separately, before being put back together again. This all happens in realtime and allows for a much more surgical approach to resonance detection and rebalancing than what would be possible with traditional audio effects.
While most spectral tools focus on audio restoration, we wanted Smooth Operator to be all about creative expression. The plugin is meant for shaping your tone. Use it to compress, EQ and ‘purify’ in one simple process – and know that Smooth Operator has your back when it comes to automatically eliminating ‘bad’ frequencies.
Ableton Live, Pro Tools, Logic Pro, FL Studio, Cubase, Nuendo, Reaper, Reason + more
Features
- Global Threshold: Pull the middle circle node downwards to increase the over-all effect amount. When the curve is horizontal, Smooth Operator will apply the same effect amount across the entire frequency spectrum.
- Change the response curve: Move the 4 nodes on the curve to sculpt your desired frequency response. Preserve frequency areas by moving the nodes up, or go harder on frequency areas by dragging the nodes down. Use your mousewheel or trackpad-scroll to adjust the Q.
- Go surgical or go broad: The ”Focus” slider controls how surgically Smooth operator works. At 100%, each frequency spike is processed independently, while lower focus values will give you a broader response.
- Monitor problematic areas in solo: Engage the “Solo” button to audition different areas of the frequency spectrum separately and identify problematic areas in your track. Then decide how hard Smooth Operator should tackle them.
- Use Smooth Operator as an intelligent ducker: If you engage “Side Chain” mode, you can duck your signal relative to the frequency content of another track in your mix. The side chain input will then determine what frequencies are attenuated, allowing you to create space between two competing tracks in your mix. (Example: Ducking your bass with your kick set as the side chain input).
- Two algorithm modes: Click the “M” icon to switch between “High-Res” and “Classic” algorithms. “Classic” offers lower latency for tracking and production workflows, while “High-Res” offers a cleaner response for mixing and mastering purposes.
- Display options: Switch between pink, green and blue background colors. Fully resizable plugin window.


